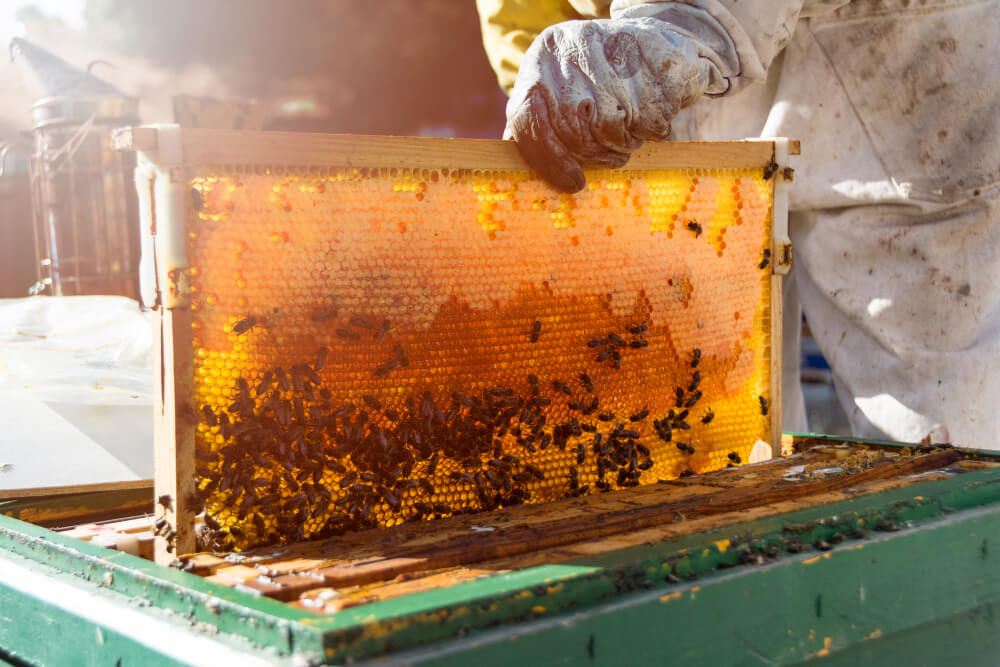
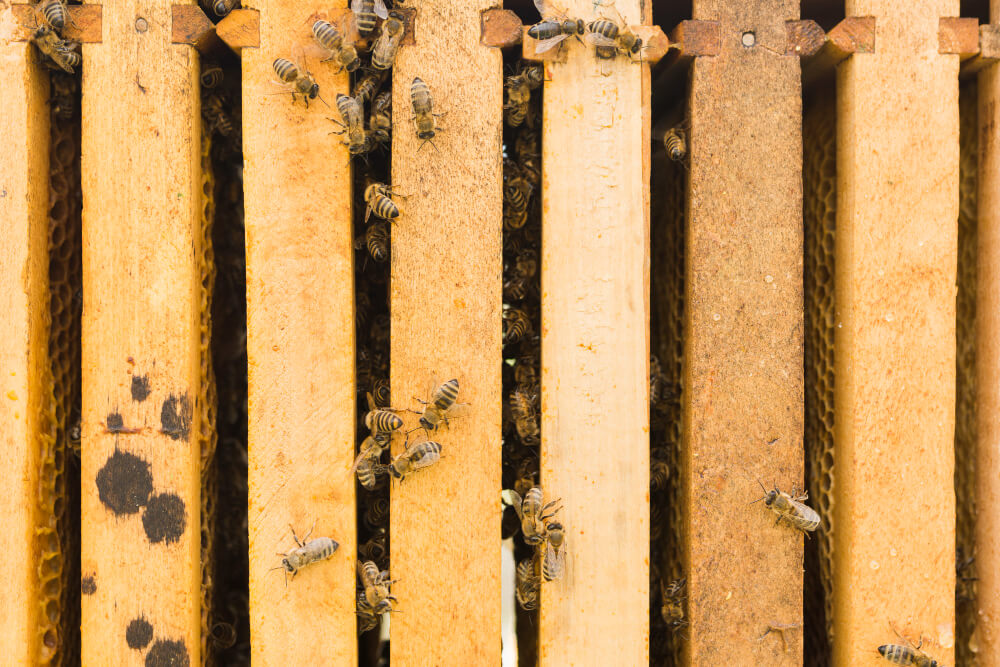
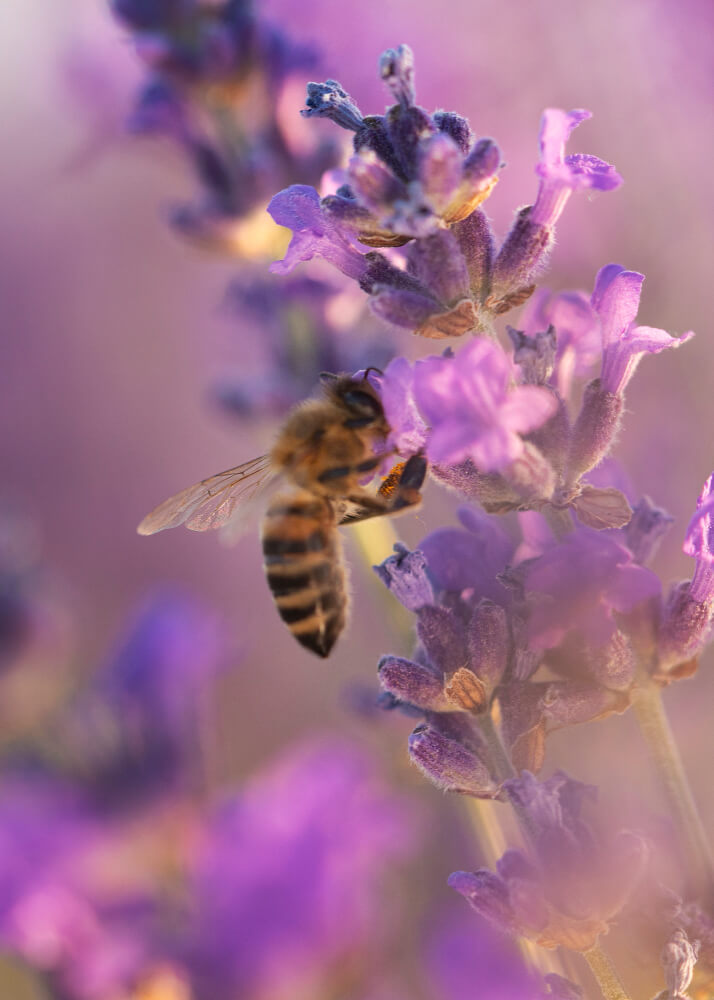
Beekeeping, often referred to as apiculture, is the art and science of caring for and maintaining honeybee colonies. It’s a practice that dates back centuries and has gained increasing popularity in recent years due to its vital role in preserving our environment and providing valuable resources. At its core, beekeeping involves the responsible management of bee hives, nurturing and protecting these incredible insects, and harvesting the precious honey and beeswax they produce. Beyond the sweet rewards of honey, beekeeping offers numerous benefits, including aiding in pollination, supporting biodiversity, and fostering a deep connection with the natural world. In this blog, we’ll delve into the fascinating world of beekeeping, exploring its fundamentals and sharing insights on why embarking on this journey can be both rewarding and essential for our planet.
Are you ready to embark on the journey of beekeeping? It’s an exciting and fulfilling endeavor that can have a positive impact on both your life and the environment. In this series, we’ll guide you through a step-by-step process to help you get started with the care of these remarkable creatures. Whether you’re a complete beginner or someone looking to deepen your beekeeping knowledge, we’ll cover everything you need to know. From setting up your first hive to managing bee colonies, harvesting honey, and ensuring the health and well-being of your bees, we’ll walk you through each stage of the beekeeping journey. So, let’s roll up our sleeves and dive into the wonderful world of beekeeping together!
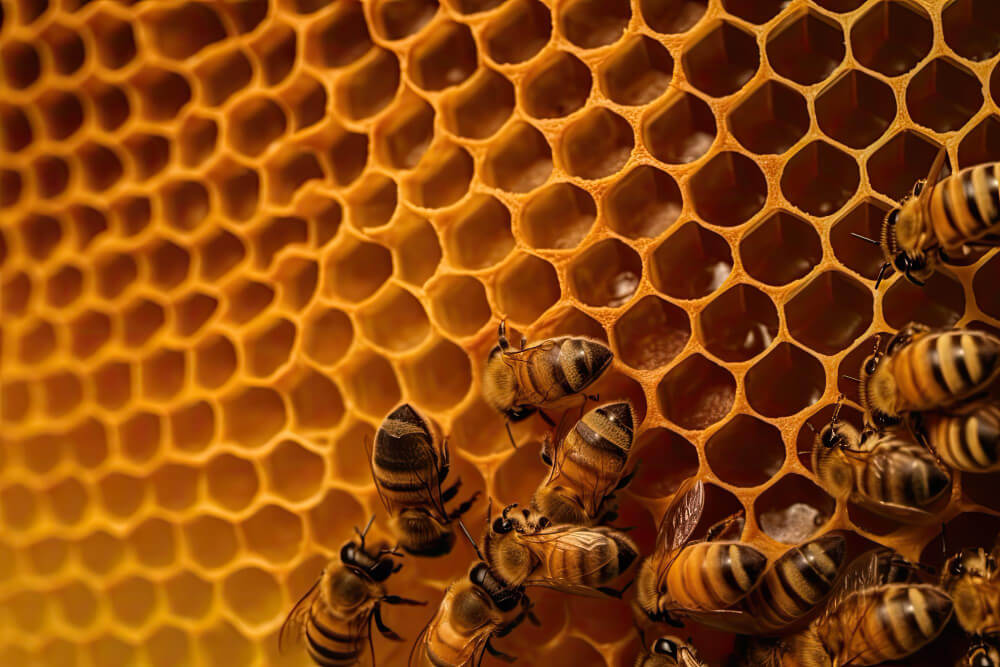
1. Choose the Ideal Location for Bees Keeping bees successfully hinges on selecting the perfect spot.
Firstly, bees require abundant sunlight; however, if you’re in a hot climate, consider providing them with afternoon shade. Secondly, ensure they have easy access to a water source near the hive. We utilized a large plant saucer with stones in the center for the bees to perch on, refreshing the water daily. Alternatively, a shallow bubble fountain can serve this purpose effectively. Thirdly, it’s crucial to shield the hive from strong winds that may blow rain or snow into it, making it challenging for the bees to maintain a warm hive. Finally, bees thrive with privacy. Avoid siting the hives near high-traffic areas, play zones, swimming pools, or pet areas. Allocate ample space for each hive; ideally, 50 feet from high-traffic areas, but if space is limited, position the hive with its entrance near a tall fence or hedge. This encourages the bees’ flight path to go overhead, minimizing contact with people and pets. Concealing them from view benefits both the bees and people, ensuring a harmonious environment.
2. Prepare the Beekeeping Site for Success
The next crucial step is preparing the location where your hives will thrive. To ensure optimal conditions, consider the following key factors:
Hive Orientation: Whenever feasible, orient your hives to face south. This strategic placement allows the bees to maximize their exposure to sunlight, helping to maintain a warm and active colony. Adequate sunlight also assists bees in foraging and navigating.
Elevated Hive Stands: Elevating your hives off the ground is essential to protect them from dampness and unwelcome critters. This elevation not only prevents moisture from seeping into the hives but also deters pests like ants and rodents from gaining access. You can use specially designed hive stands or construct your own elevated platform to achieve this.
Level Ground: Before installing your hives, ensure the ground is level. This not only aids in hive stability but also simplifies hive management. A level surface makes inspections and honey extraction more straightforward, ensuring a smoother beekeeping experience.
Cement Foundations: For added convenience and hive stability, consider pouring a cement pad at the hive site. This not only provides a solid foundation but also simplifies hive maintenance and care. A well-constructed cement pad can enhance hive longevity and overall beekeeping success.
3. Install Your Bees with Care
The arrival of spring, when blooming flowers provide a bountiful food supply, marks the ideal time to introduce your bees to their hives. After determining how to acquire your bees, it’s highly recommended to rely on your bee supplier or source for precise installation instructions. Following their guidance ensures a smooth transition for your new colony into their hive environment.
4. Nourish and Support Your Bees
Young colonies have a multitude of tasks to tackle, including storing pollen and nectar, sealing cracks and seams in their new home, and attending to the queen and new brood. To aid their adjustment and development, we provided them with a nourishing “nectar” solution. Here’s a simple recipe to prepare it: Dissolve equal parts of granulated sugar and water and use this mixture to fill quart-sized jars. Securely top the jars with feeder lids and invert them into the specially designed feeder holes. The lids should be damp but not dripping. Bees will consume the solution as needed to establish themselves in their new hive.
During the initial stages, our nucleus colonies consumed approximately three-fourths of a quart jar of nectar per day. Over the next three weeks or so, this consumption gradually decreased as the bees began sourcing their nutrition from blossoming flowers. It’s important to note that excessive consumption of sugar water can result in insipid honey, so it should only be continued if necessary for the colony’s development. Monitoring their progress and adapting your beekeeping practices accordingly will lead to a thriving and self-sufficient bee colony.
5. Conduct Comprehensive Hive Inspections
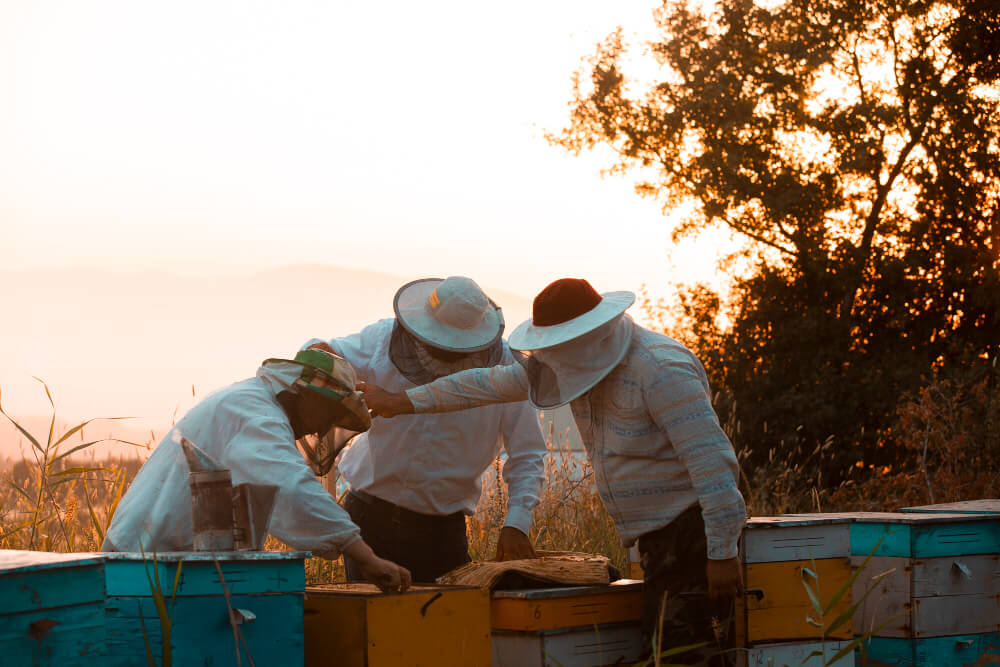
A significant aspect of successful beekeeping revolves around keen observation and timely responses. If you’re a novice beekeeper, it’s recommended to initiate hive inspections approximately once a week during the initial couple of months to familiarize yourself with your colony’s behavior. As you gain confidence and experience, you can adjust your routine to every two weeks. During these inspections, attend to the hive’s exterior by ensuring it remains clean and free of bee waste, the landing board is clear of debris, and there are no ants infiltrating the hive. To gain insights into your colony’s health, open the hives and carefully examine the frames for the presence of larvae and eggs. This is best done on warm days when bees are more active. A healthy queen will leave behind a thriving brood of larvae in various stages of development. In the absence of clear signs of a healthy queen, it’s advisable to seek guidance from an experienced beekeeper or consult your local beekeeping guild for assistance.
As you progress in your beekeeping journey, you’ll discover that less frequent hive inspections are generally better for the bees’ overall well-being. Extensive hive examinations necessitate the use of smoke to keep the bees calm, but this process can be stressful for them, requiring approximately a day for recovery. As your knowledge grows, you’ll develop the ability to discern the hive’s condition without the need to inspect it thoroughly. Much can be deduced simply by observing the bees’ activities as they enter and exit the hive.
6. Vigilantly Monitor for Pests and Diseases
Varroa mites rank among the most common hive pests, and left unaddressed, they pose a significant threat to the hive’s vitality, potentially leading to its demise (refer to Pest Control below for guidance on mite detection and control). Additionally, beekeepers must remain vigilant for other pests, such as the small hive beetle and the wax moth. In terms of diseases, beekeepers should be on the lookout for American and European foulbrood. Early intervention is often the decisive factor between a thriving hive and one in decline or collapse.
7. Expand Your Hive When Demand Arises
To sustain a thriving bee colony, you must adapt to their growth and needs. Here’s a structured approach to expanding your hive:
Start with One Deep Hive Body (Brood Box): Initially, begin with a single deep hive body, often referred to as a brood box. This serves as the primary living space for the bees and houses the brood, pollen, and honey stores.
Monitor Frame Filling: Keep a close watch as the bees work diligently to fill approximately 7 or 8 frames within this brood box with bees and brood. This serves as an indicator that the hive is flourishing and ready for expansion.
Introduce the Second Brood Box: Once the bees have adequately filled the frames in the first brood box, introduce a second brood box. Allow the bees to extend their brood cells into this additional box as well, promoting a robust colony.
Manage the Second Brood Box: As with the first brood box, ensure that the second one is well occupied, ideally with 7 or 8 frames containing bees and brood.
Queen Excluder and Honey Super: If you opt to use a queen excluder, place it above the second brood box. This device restricts the queen’s access to the upper levels of the hive, keeping her out of the honey super—the box where you will primarily harvest your honey.
Pest Control: Safeguarding Your Hive
Bees, resembling fragile spheres of honey-filled spun sugar, are in high demand among various predators. Here are three of the most formidable pests we encountered in our beekeeping journey, along with the strategies we employed to protect our precious bees:
1. Ants
Argentine ants pose a significant threat, as they can devastate a hive by pilfering honey and preying on brood. Our approach to tackling this challenge prioritized bee safety:
Terro Ant Bait: Initially, we experimented with Terro ant bait, which consists of small containers filled with boric acid mixed with a sweet substance that attracts ants. This approach yielded some success.
Physical Barriers: Ultimately, we found the most effective solution was to create a physical barrier. We placed each leg of the hive stands in plastic tubs filled with water, creating a moat-like barrier that ants couldn’t cross. This ingenious strategy safeguarded our hive’s precious contents.
2. Varroa Mites
Varroa mites are among the most destructive pests a beekeeper can face, posing a grave threat to the hive’s survival once they establish themselves. These parasites feed on adult bees, lay eggs in brood cells, and their larvae feed on bee larvae, transmitting viruses and weakening or killing them.
Honey Collection
Our journey into beekeeping rewarded us with an early honey harvest during the first summer, which was a stroke of luck. Typically, in the first year, bees focus on building their hive, and if they successfully overwinter, honey harvesting can commence in late spring or early summer of the second year. Just three months after bringing our bees home, we found ourselves with four frames brimming with honey, each weighing around 8 pounds. Lacking a professional extractor, we devised a straightforward, low-tech method:
Cutting and Crushing: Using a bench scraper, we delicately cut the honey, including the wax, off the foundation into a bowl. We balanced the frame on a wooden spoon set across the bowl, functioning as a bridge. Subsequently, we used a wooden spoon to crush the honey and wax in the bowl.
Straining and Settling: The resulting honey-wax mixture was poured through a double layer of cheesecloth and a stainless-steel strainer into a food-grade plastic bucket. We allowed it to drain and settle for a couple of days, observing the rise of bubbles and foam to the surface.
Bottling: Preparing the floor with newspapers and our jars at the ready, we loosened the honey gate (the stopper at the bucket’s bottom) to release the honey into each jar. The honey flowed into the jars, and we sealed them with lids. It was a simple and rewarding process. From four full frames of honeycomb, we yielded 12 pounds, 10 ounces of honey. We rinsed and froze the leftover wax, later rendering it in a solar wax melter for use in craft projects like lip balm and hand salve. A second unexpected harvest later in the summer brought our total honey yield to approximately 31 pounds of pure, aromatic honey.
Where to get bees
When it comes to obtaining bees for your hive, you have several options, each with its advantages:
Packaged Bees and Caged Queen: This is an economical choice that requires time for the colony to build up. You can typically order packaged bees through your local beekeepers’ guild. It’s advisable to place your order as early as the fall or no later than early spring since bees are available for a limited time in the spring. This option typically costs around $65.
Nuc (Nucleus): A nuc is a young hive containing no more than 5 frames of comb and includes a newly laying queen. Starting with a nuc can accelerate honey production. Ensure you purchase from a reputable beekeeper to avoid acquiring diseased equipment or unhealthy bees. Prices for nucs can vary, and we obtained two nucs from master beekeeper Randy Oliver at $90 each, including the queen. You can find more information at scientificbeekeeping.com.
Well-Established Swarms or Colonies: Large colonies can be intimidating for beginner beekeepers. Capturing a swarm is best left to experienced beekeepers, and they may assist you in starting a hive with the captured swarm. To find experienced beekeepers willing to help, contact your local beekeepers’ guild.
Conclusion
In the world of beekeeping, every step is a journey into the extraordinary realm of these remarkable creatures. From choosing the ideal location for your hive to diligently monitoring your colony’s health, from battling pests to reaping the sweet rewards of honey, beekeeping offers a captivating and rewarding experience. As you nurture and protect your bees, you not only embark on a journey of environmental stewardship but also create a bond with the natural world that is both profound and invaluable.

